This is how you build a structurally sound deck without concrete.
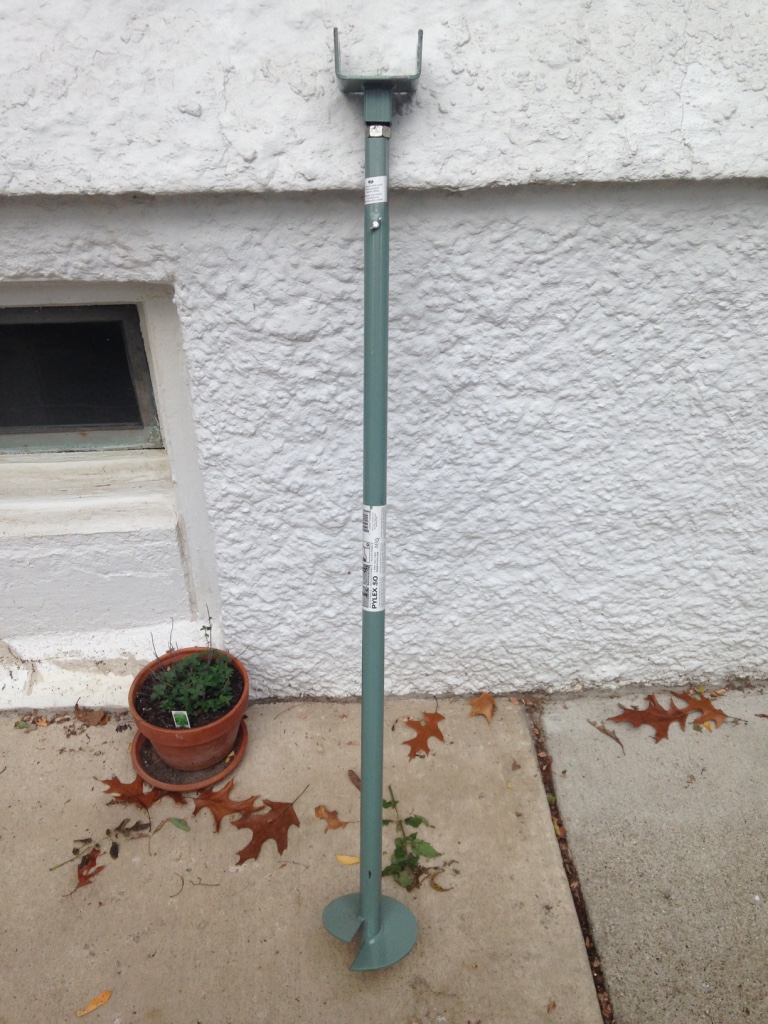
The helical screw pile replaces the concrete footing + embedded post bracket used in conventional deck construction. The screw pile can be reused. It can be relocated. It can be readjusted after installation by multiple inches. I have never seen it not meet + exceed municipal / state building codes. This is the 50-inch Adjustable Screw Pile from Pylex.
Helical piles are not new technology. In the US they seem to predominately be used for reinforcing foundations and other miscellaneous structural applications, with piles so large they require pneumatic installation.
The beauty of this screw pile is that it can be installed by yourself manually.
The 50-inch Adjustable Screw Pile uses human-powered-fulcrum-force and can be installed by an able-bodied adult. No post holes, no heavy bags of messy concrete, no CO2 off-gassing during the weeks and months for curing concrete: just an all around versatile, resilient structural footing for a multitude of applications + conditions. Furthermore it penetrates the ground down 4-feet, while most Michigan building codes required 3.5-feet for frost depth on an attached deck (attached to house). My deck was unattached and local code did not require deep footings, but I included them anyway for safety and resilience. This unit is engineered to support 5,000 lbs in sandy soil and 3,500 lbs in clay soil.
The Project
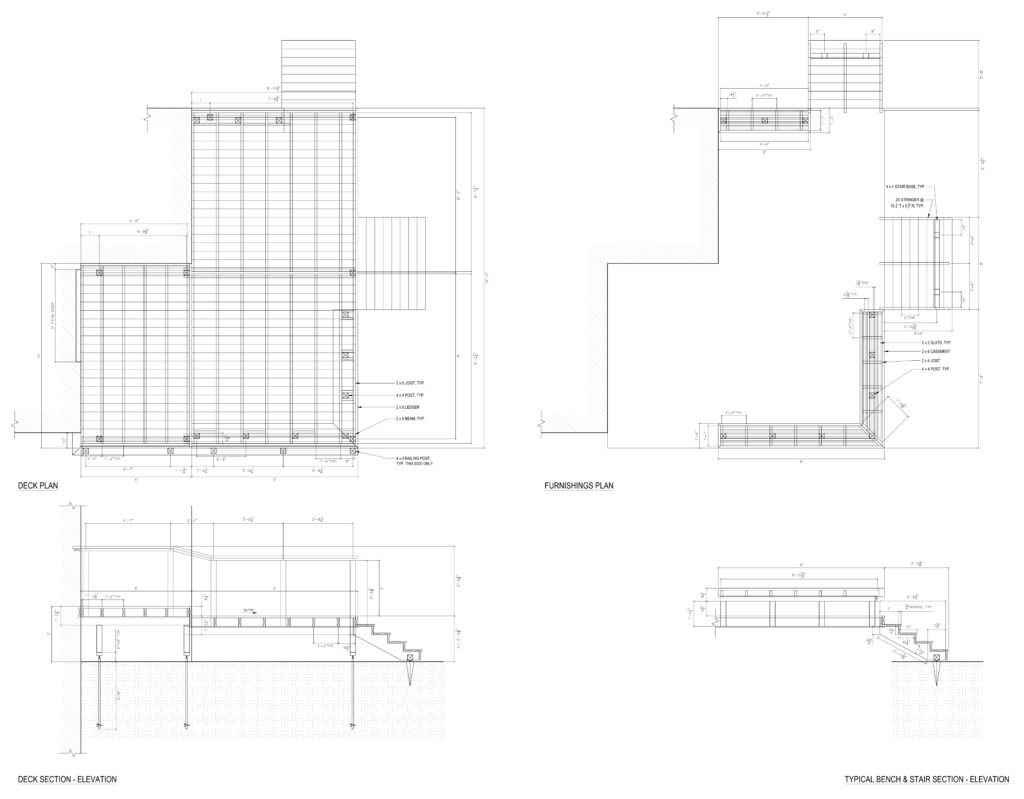
I started with a design layout. While I don’t think you need to draft one up professionally, it is critical to sketch something out at a scale to estimate within your budget and ensure proper code compliance. Also, many municipalities will require site plans + elevations for new decks, especially as deck design becomes more extensive and / or exceeds the 30-inch fall height.
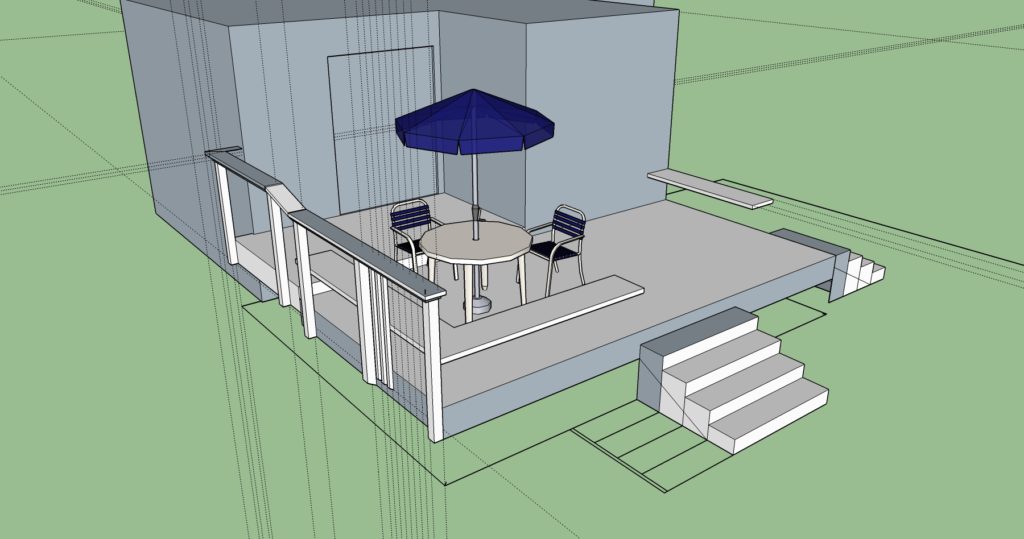
I also did a quick and dirty extrusion of the design in Google SketchUp to get a 3D feel for my programming + concept. The basic version of SketchUp is free, and as far as digital 3D-modeling goes SketchUp is about as easy as it gets.
Construction began by replacing a high, long, rear-facing window with a sliding door. Consult a qualified professional prior to ever demolishing portions of existing walls.
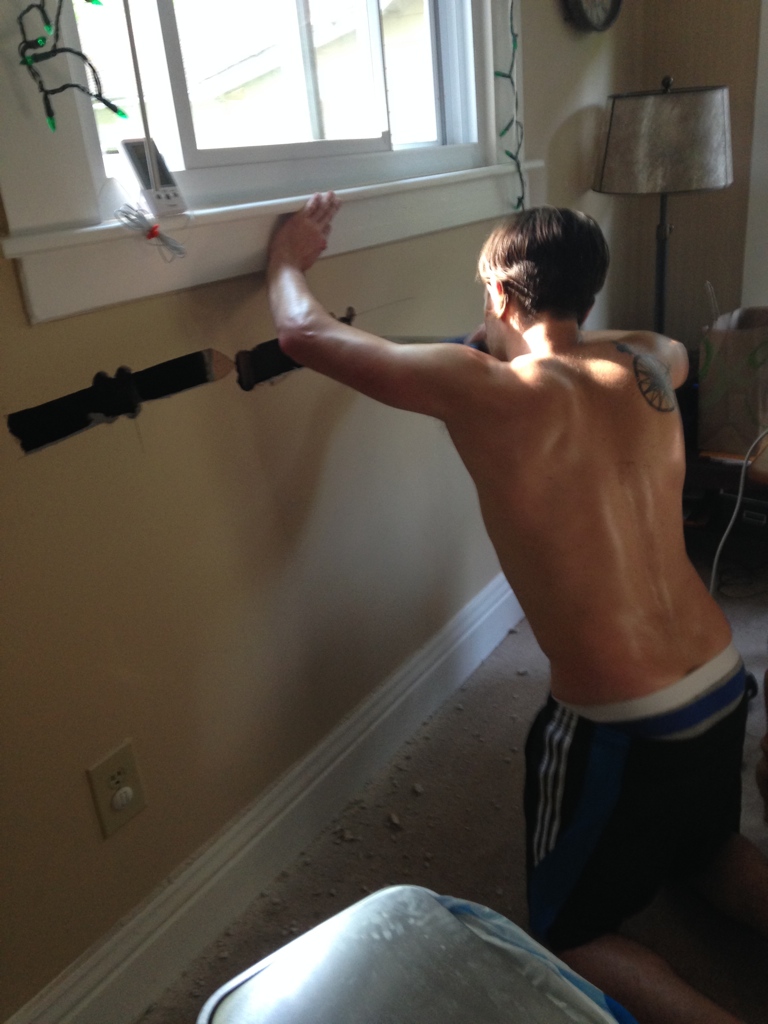 The sliding door was a lot of work. More than I will outline. It didn’t help that a door of the incorrect size was delivered. The mishap turned into about a week of maintaining a duct-taped tarp over a gaping hole in my house. The door manufacturer made right on the inconvenience, however, and I ended up only paying for the door’s shipping!
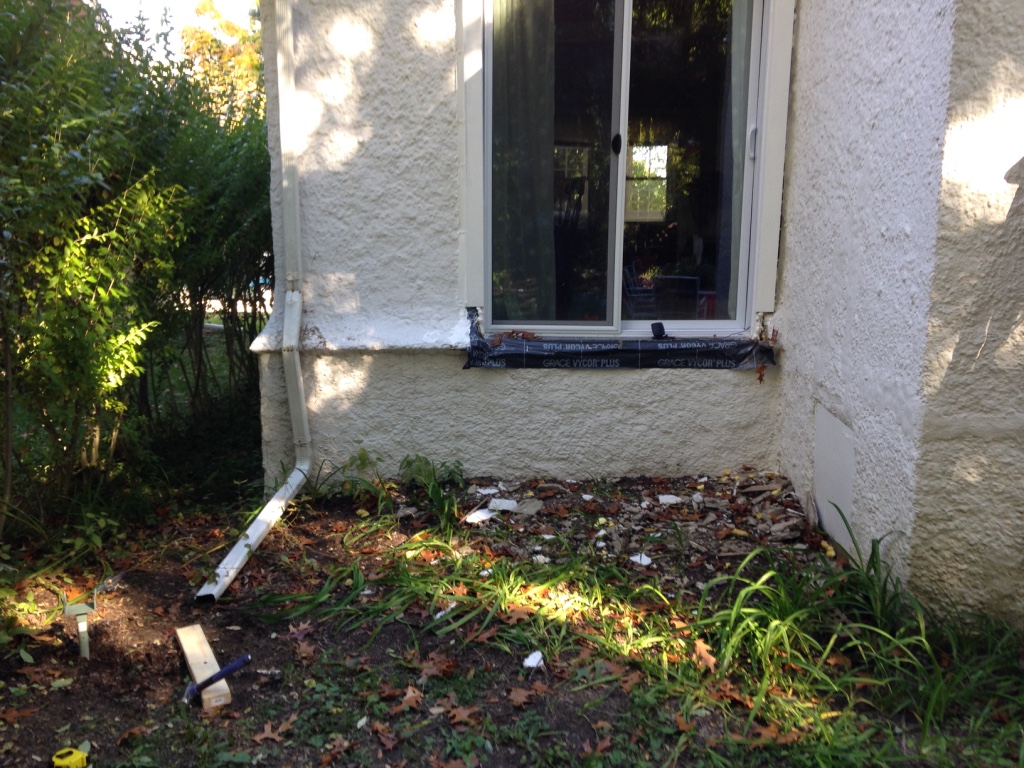 Once the door was flashed + trimmed I moved to deck construction. My initial intent was to build a single deck platform. This was in part for general feasibility, but also to comply with local building code square footage criteria that would have required additional permitting for building a larger deck.
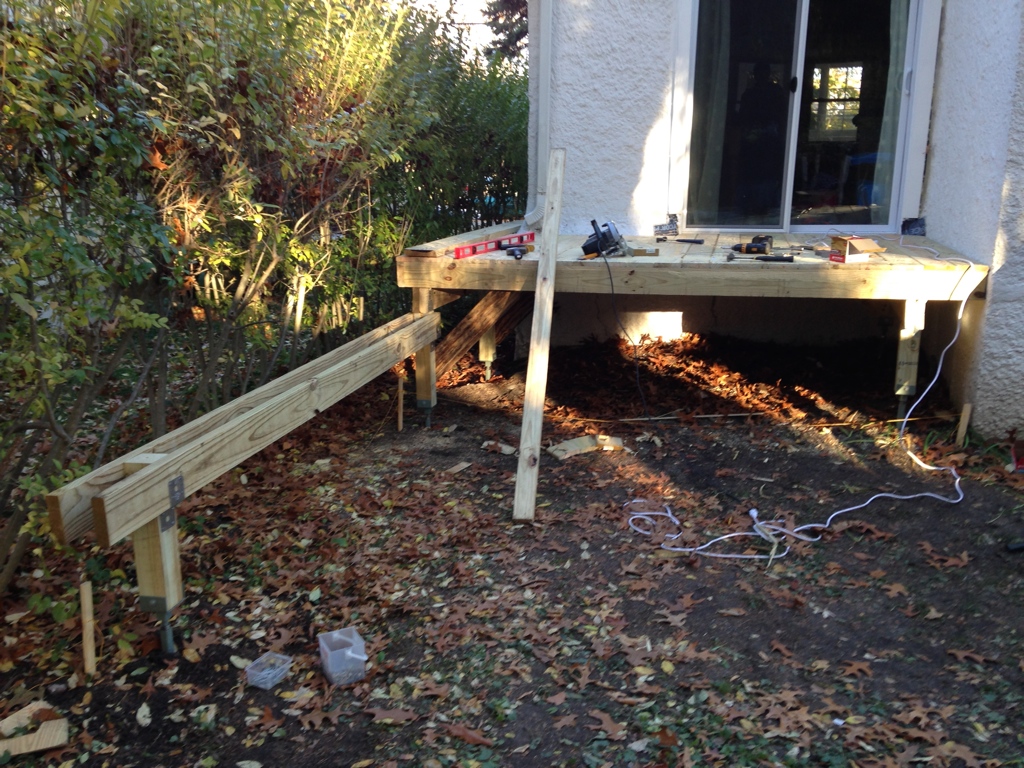
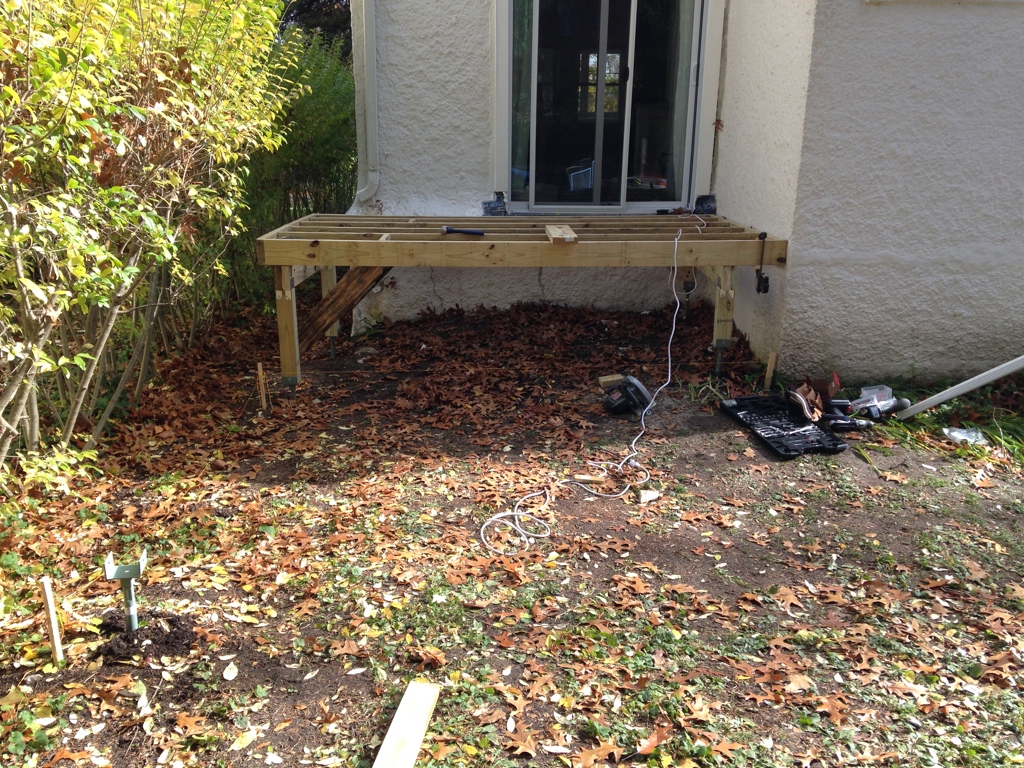 The image above shows new framing for the upper portion of the original deck. The deck is free-standing (unattached) and did not use a ledger board to connect it directly to the house. Notice I installed 45-degree “knee braces” on posts to prevent lateral movement. Also notice the top of a helical pile (bottom left in image above) for what would eventually become a lower terrace.
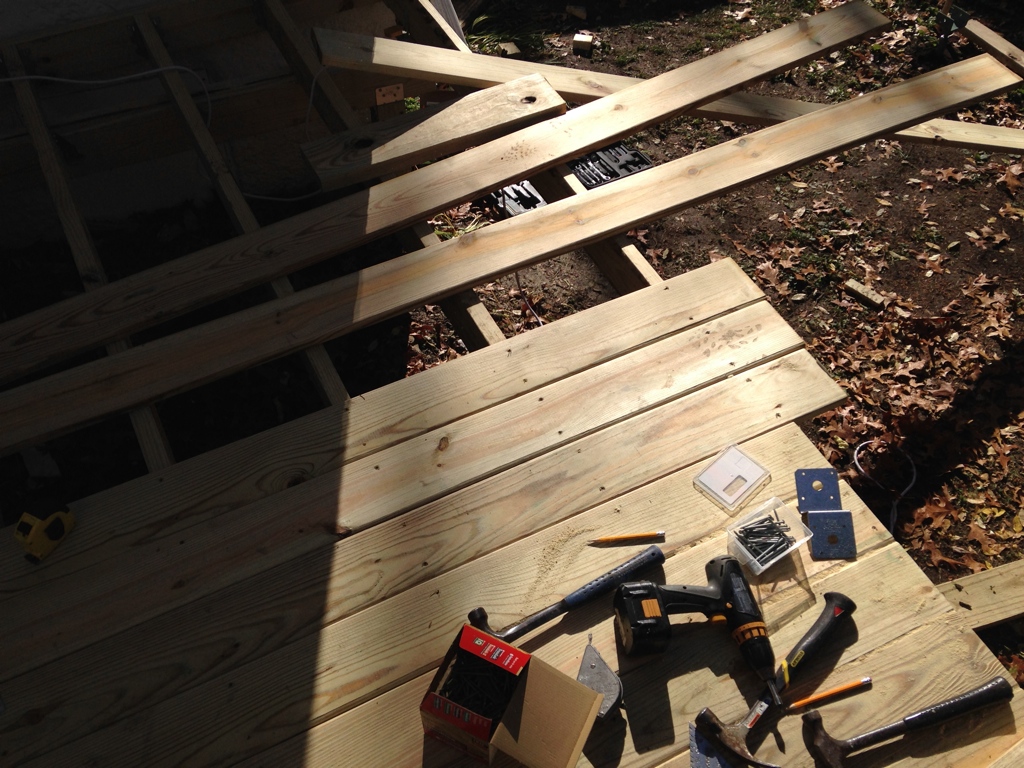
Add decking…
 The above image shows the decked-out upper portion with new framing for the lower terrace underway. I used Simpson Strong Tie hardware for all framing connections, as it is double dipped galvanized per best practices + municipal code compliance. Deck construction is relatively conventional after post footings are installed, though I did find one more opportunity to effectively replace concrete.
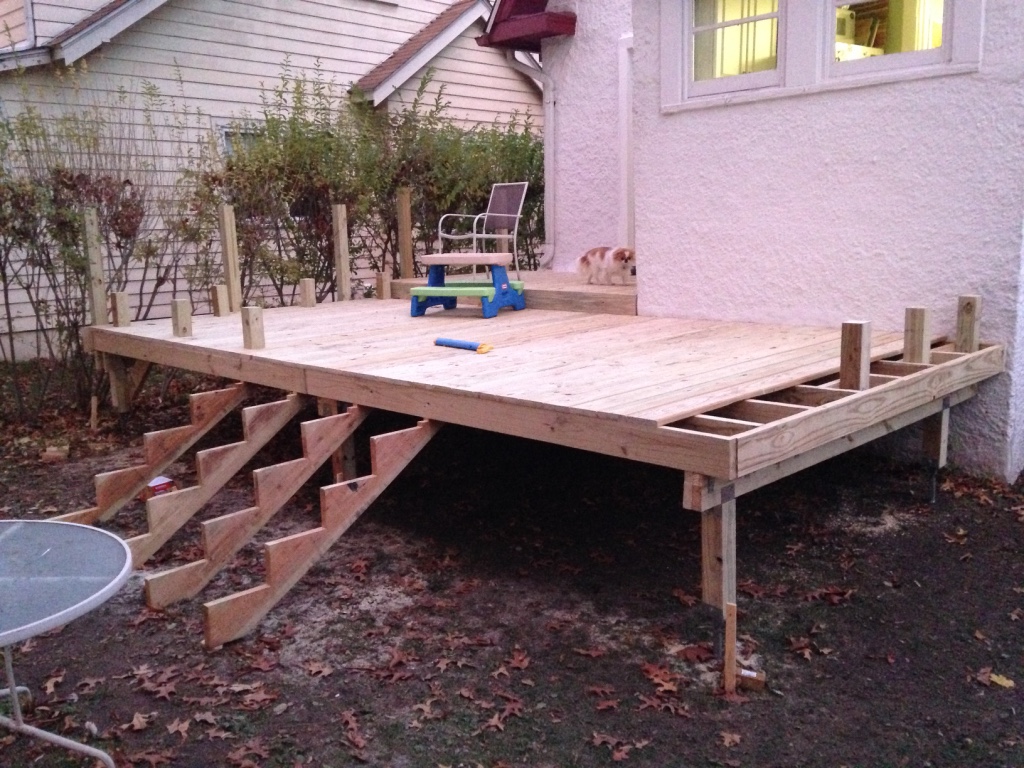 My finished product was in sight with a lot of inspired details left to be constructed. I ended up designing benches built into the framing which are what the shorter 4 x 4 posts protruding from the deck surface would become.
Stair stringers provided another opportunity to deviate from concrete.
In typical deck stair construction a concrete pad is poured as a landing to anchor and support the stair stringers where they meet the ground. Sometimes smaller individual concrete footings are used. I explored concrete-less alternative approaches and came up with the ground spike, specifically the Pylex 32″ Ecospike.
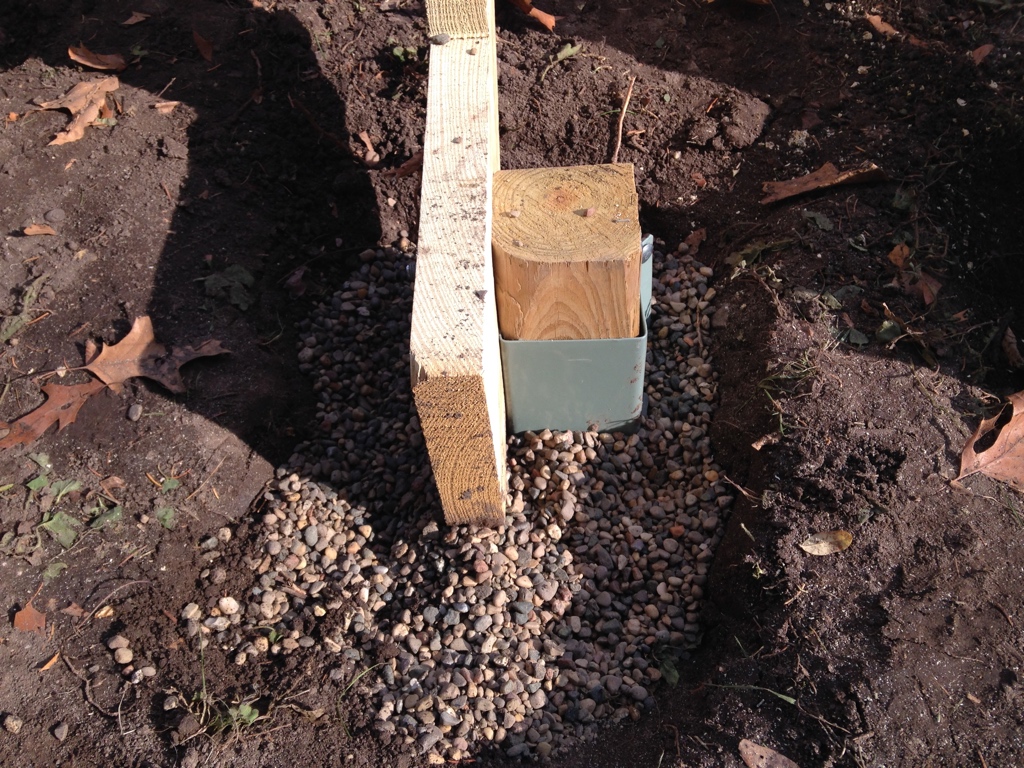 Stair stringers are fastened to the 4 x 4 by a standard 3/8″ lag bolt. I shoveled out a couple inches of topsoil to hammer in the spikes, then backfilled with pea gravel to reduce direct ground moisture coming into contact with wood. I don’t know if the spike manufacturers have seen their product used for this application, but it worked like a charm and was obviously much more practical + versatile than installing a massive concrete slab.
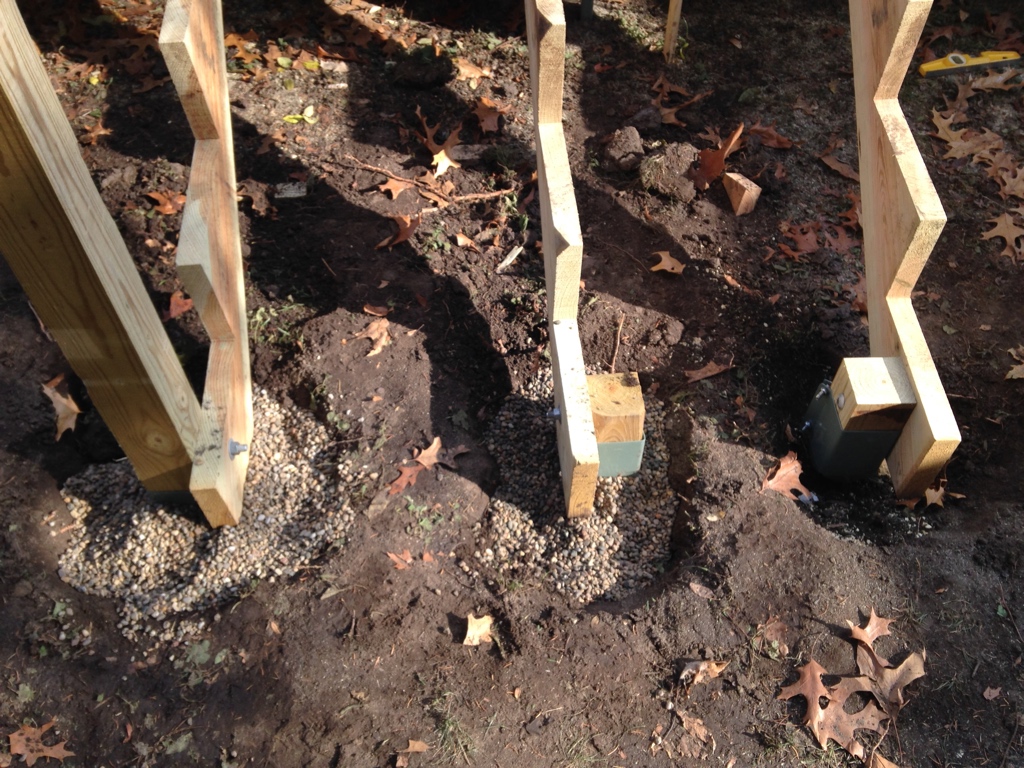 Some of the finished stringers…
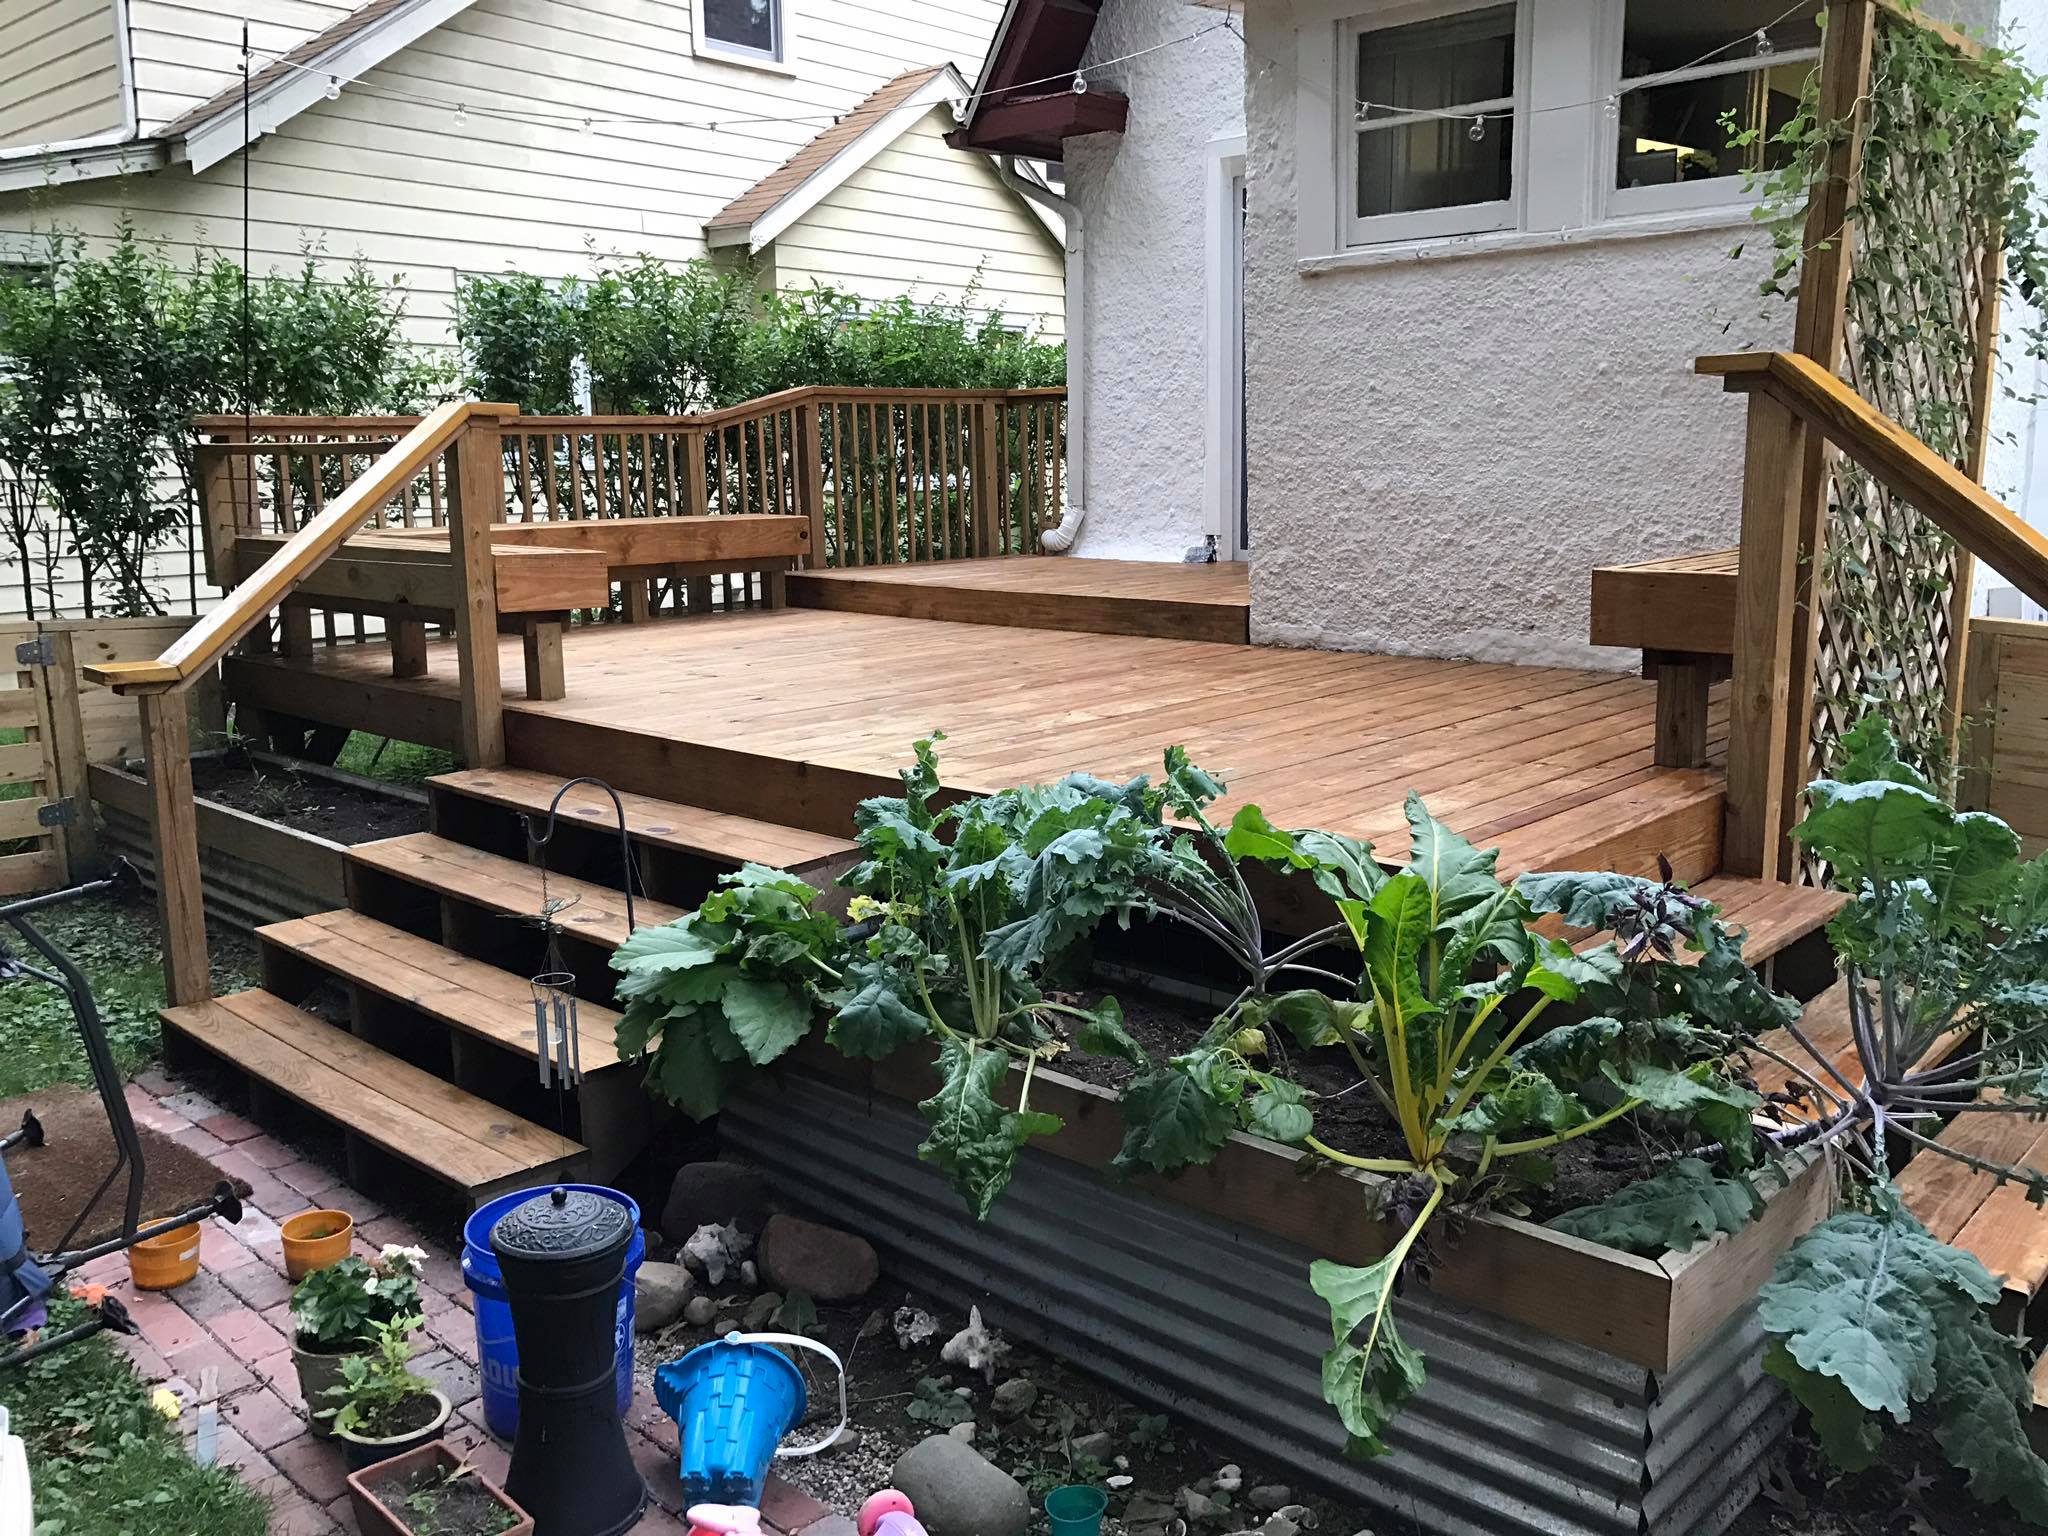
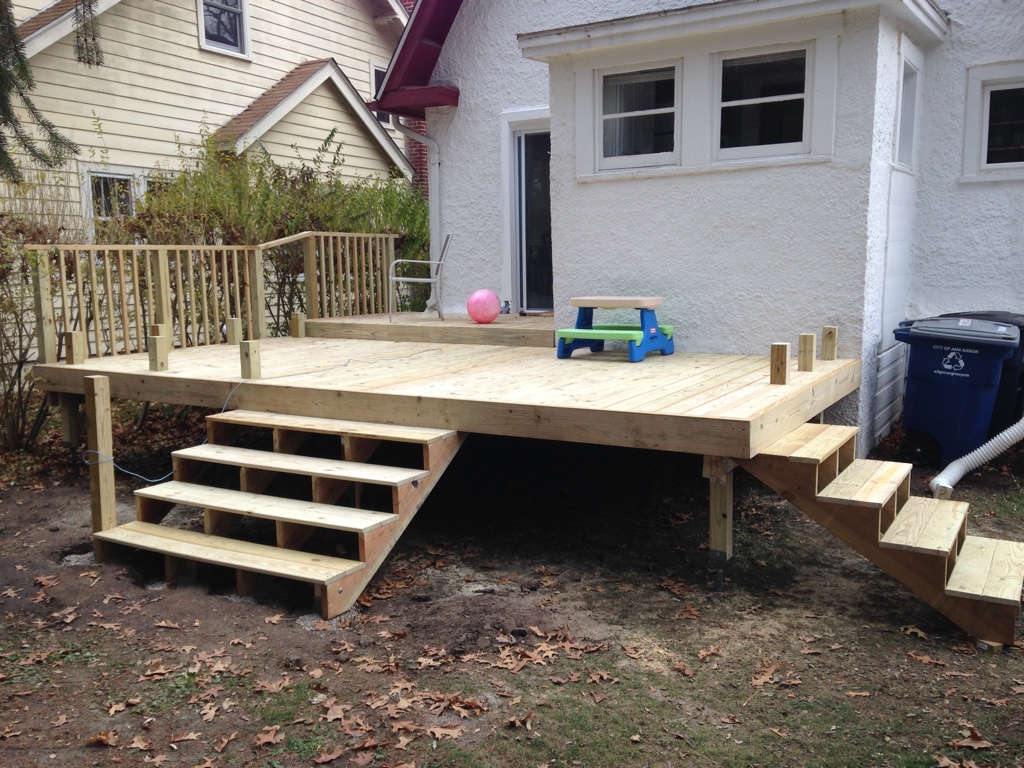 Decking obviously brings everything to life, but there were still a lot of finishing details, including railings and built-in benches. More to come on this project soon!