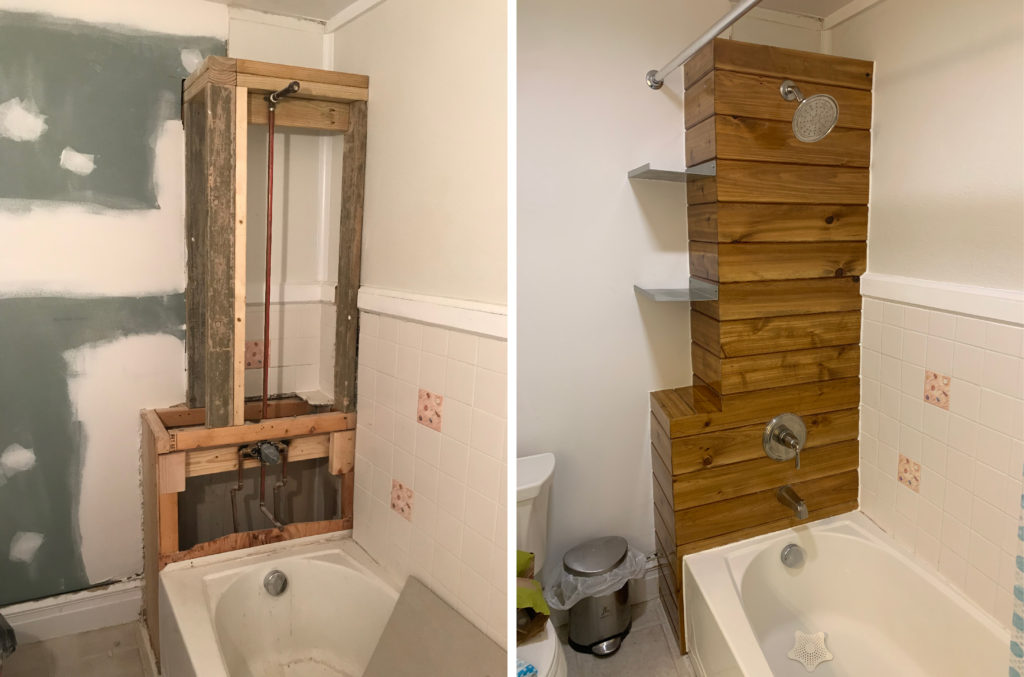
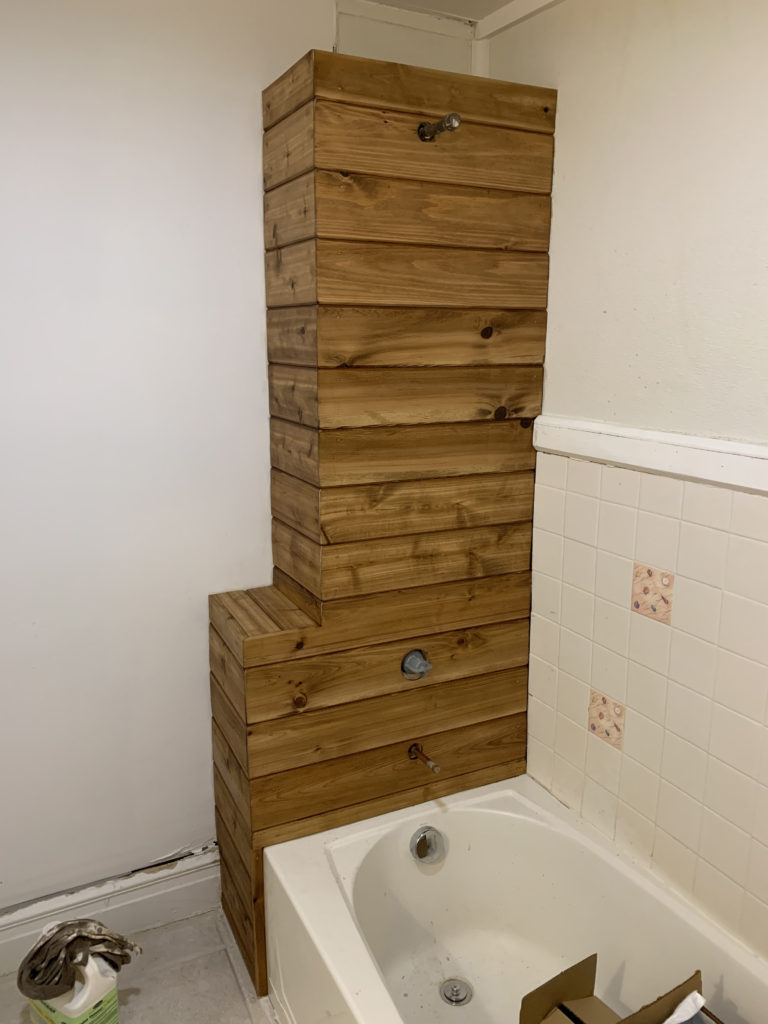
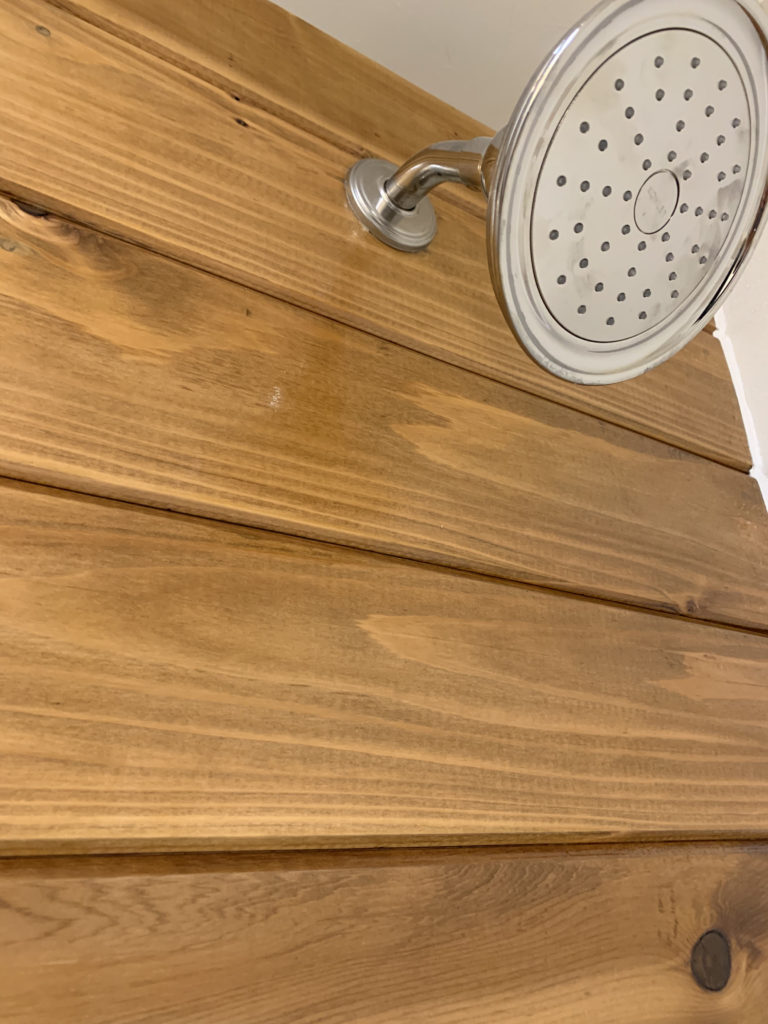
The wood shower project began as part of a major renovation / addition to my home. The renovation partially extended into this bathroom, so I opted to rip out the old partially-broken-from-construction tile on this part of the tub in order to reframe it for something different.
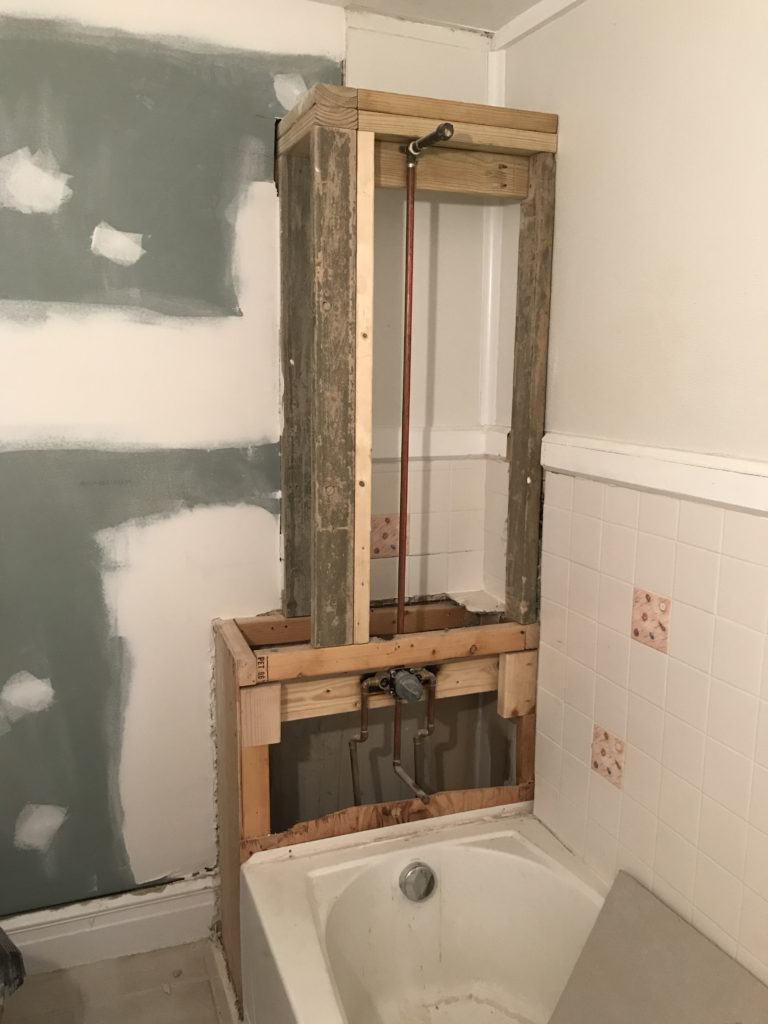
The boxed in framing / tile previously terminated at the lower rectangular portion of shower (image above), with an exposed vertical pipe that then ran up to a floating shower head. I wanted to instead enclose this with wood and locate the shower head much higher, while leave a notch for a couple built in metal shelves on the left side that contrasted the wood, and complimented plumbing fixtures. For new framing I reused scrap 2″ x 4″ wood I found onsite leftover from new driveway concrete form-work, hence the gray-colored vertical wood members.
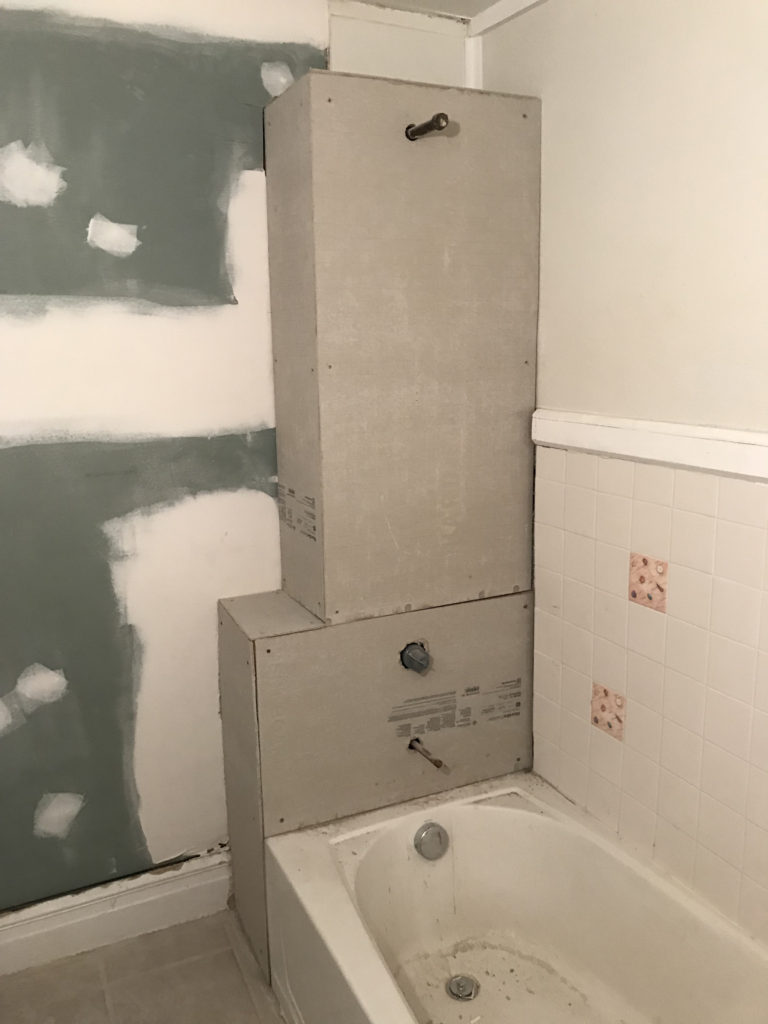
I sheathed new framing in Hardie Backer Cement Board for extra water resistance and structure. Joints were sealed with a standard bathroom caulk / acrylic. Since the finish would be wide planked tongue-and-groove cedar wood in lieu of tile, I skipped the joint tape often used on cement board joints behind tile showers.
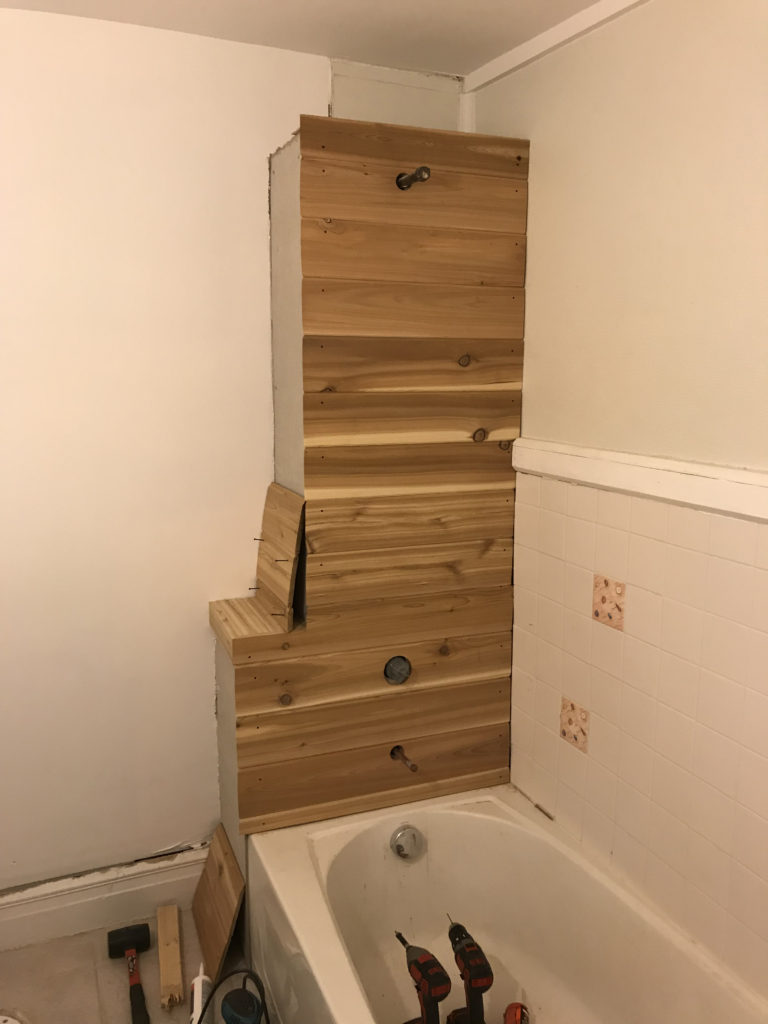
I began sheathing the face in FSC-certified 5/4″ x 6″ tongue-and-groove cedar, with the first piece beginning at the tub’s valve in order to locate plumbing fixtures in the middle of a single plank. This was done for strength, water resistance, and aesthetics, but also for practicality of installation since it avoided aligning penetrations between multiple planks, or boring through multiple installed planks.

After wood was installed I took a snowboarding vacation in Vail, Colorado. When I returned I noticed some of the wood seams at corners had contracted a little (Michigan winters are pretty cold and dry). So I filled any gaps and small trim screw holes with wood putty prior to a thorough sanding. I also filled wood joints at inside corners with another bead of caulk just prior to attaching the perpendicular wood face for extra water resistance.
Adding stain gave the wood a lot of character. I used a natural stain to highlight the grain of the cedar. Then I began applying layers of marine spar varnish.
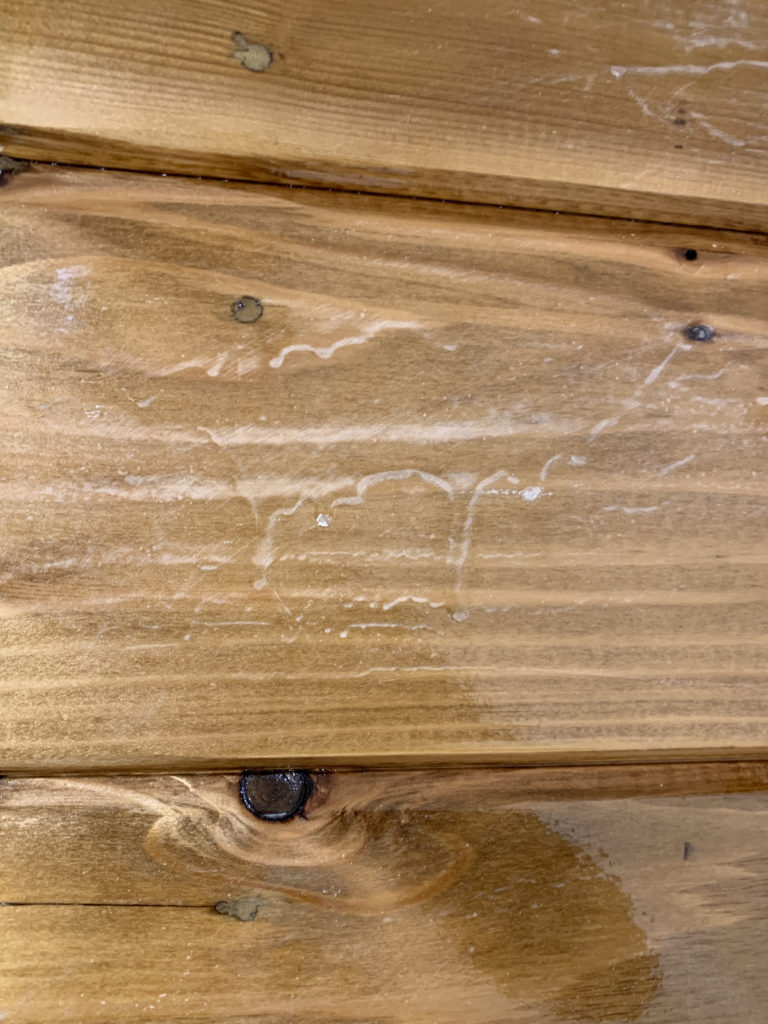
Most marine spar varnish brands recommended at least three coats of varnish with light sanding in between coats to smooth out the surface, as some drips will occur (image above).
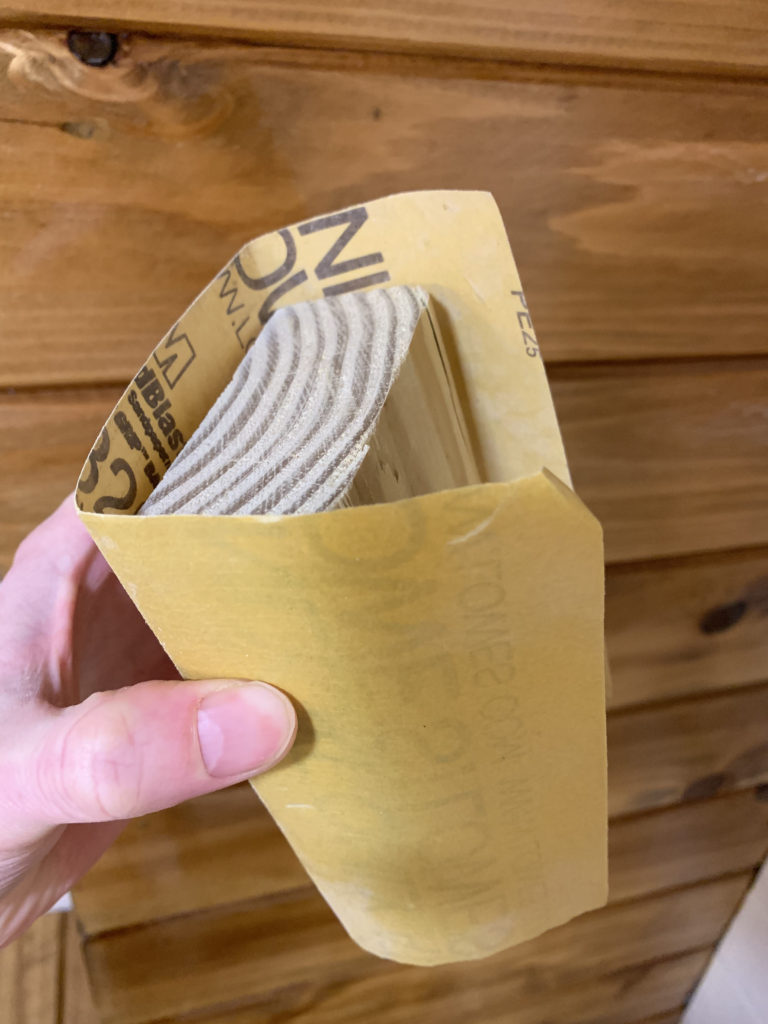
Drips can be sanded smooth with a simple sanding block and fine grain sandpaper (above). I used 320 grit sandpaper wrapped around a scrap piece of wood. The sanded varnish drips will appear slightly opaque after sanding, but this will disappear with the next coat of varnish. So don’t sand after your final coat!
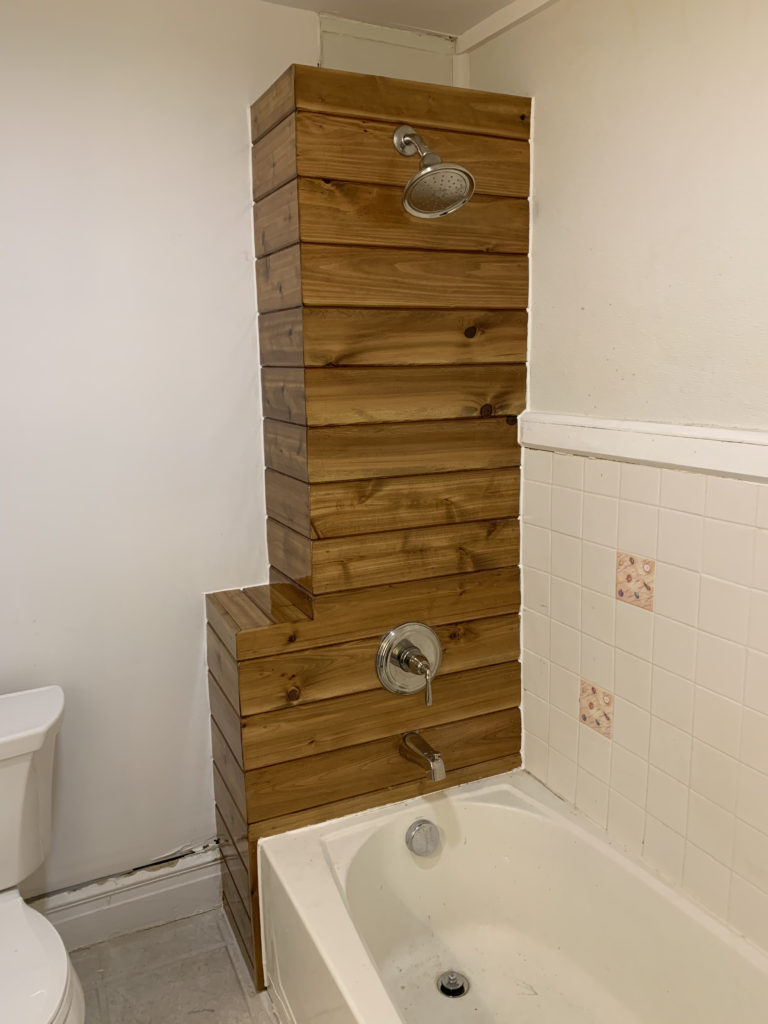
I applied a total of five coats of varnish. This created an almost mirror-like wood finish that is extremely water resistant and, if you ask me, pretty stunning to look at. After the final coat the nickel plumbing fixtures were added and contrasted the wood nicely.
When I initially sketched out my approach for the wood shower, I accounted for a roughly 1′ width shelf bay to fit in the notched cavity. A common whole-number dimension like this made it easier to track down a metal shelf that would likely be a perfect fit.
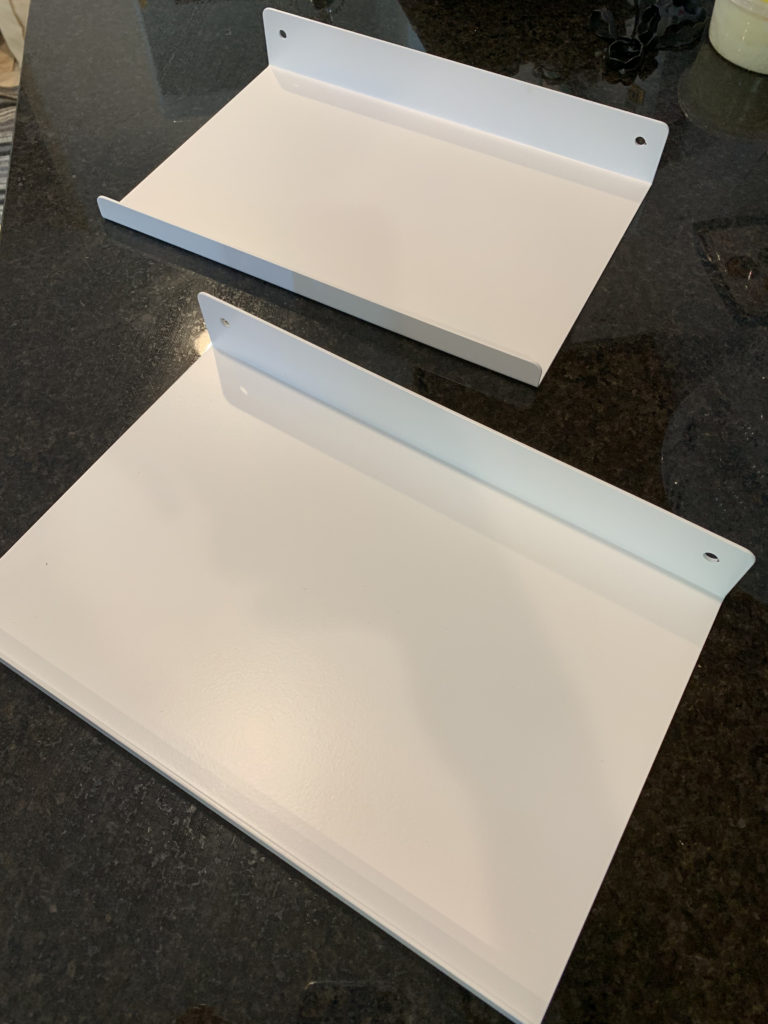
The shelves above were 12″ wide and exactly the floating style I’d envisioned. They were from a company called Kroft online, and came in a sturdy steel, powder-coated white finish. Ideally I would have found something stainless and ready for installation, but this was the best I could find and took a surprising amount of searching.
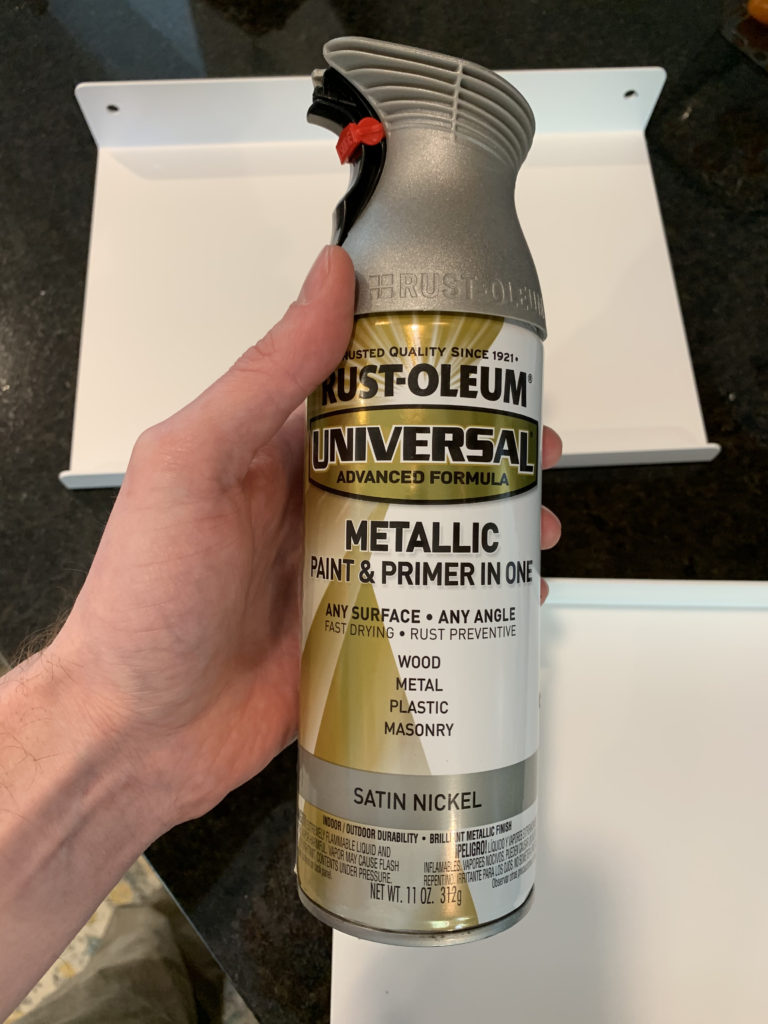
I found the product above to match nickel plumbing fixtures. I liked that it was a paint and primer in one.
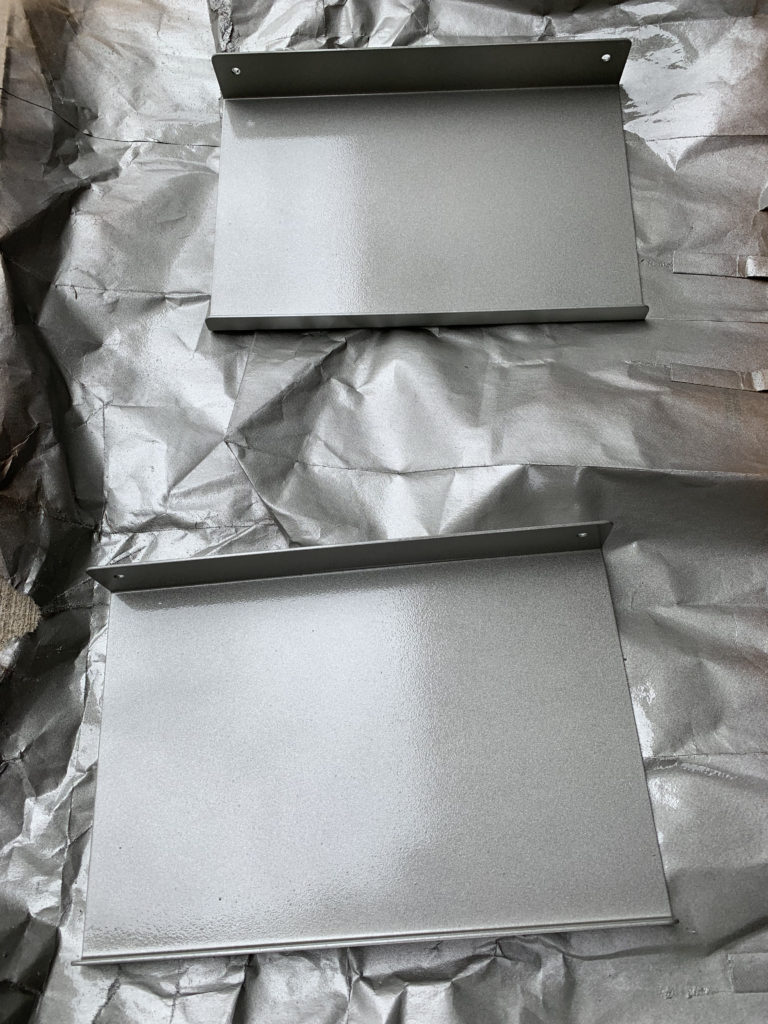
I applied three coats of the nickel paint + primer before spraying on a couple coats of a transparent poly sealer. This final sealer would help preserve the nickel paint underneath while add to the overall sheen and help match shower plumbing fixtures. I ordered two shelves to vertically divide shelving into thirds.
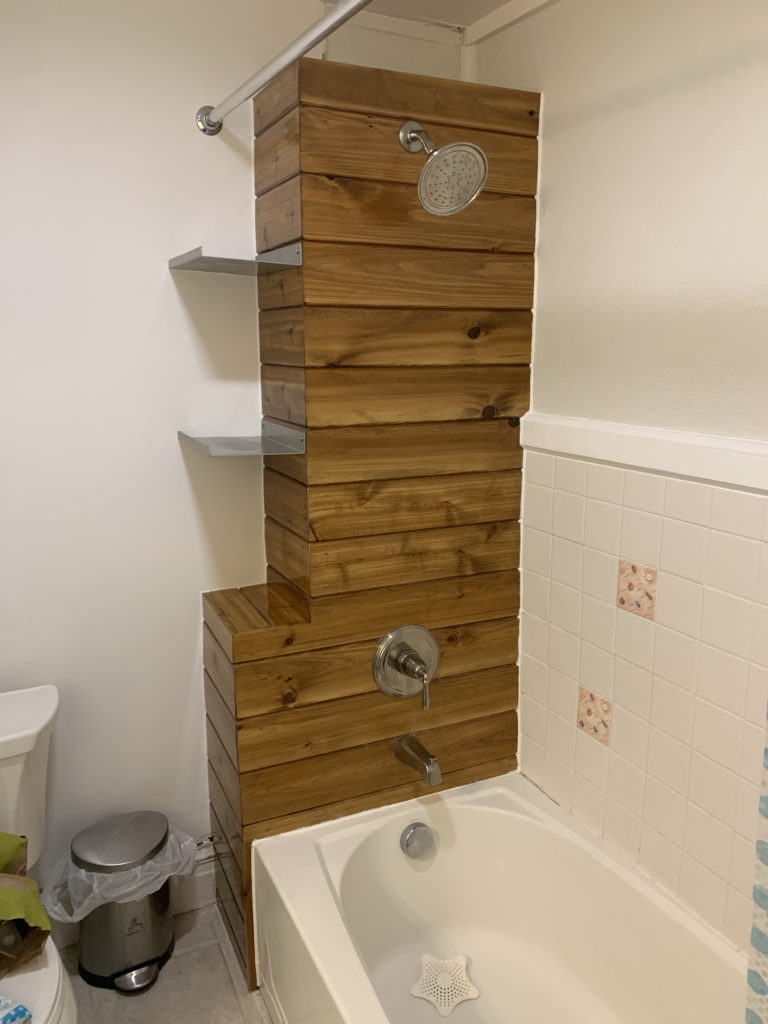
The finished installation came out pretty cool. I sealed edges with a bead of white bathroom acrylic caulk to keep water out and give it a finished edge. The only thing remaining is that hideous existing tile to the right. For some reason the previous owner installed off-white tile with these intermittent sea shell-painted tiles throughout. I found a two-part activated white tile paint that I will eventually cover it with, and will follow-up on this post with a finished pic at that time!